
Your cart (0)
Your cart is empty
Tax included and shipping calculated at checkout
Your cart is empty
Tax included and shipping calculated at checkout

Last Updated: October 17, 2026
A high performance mountain bike setup starts with the rider, not the shock, tuning a badly fitted bike is guesswork. At CB Cycles the order never changes: contact points, spring rate, damping, then tyres.
Rider fit matches saddle height, position and cockpit reach to your body so you pedal efficiently and move freely.
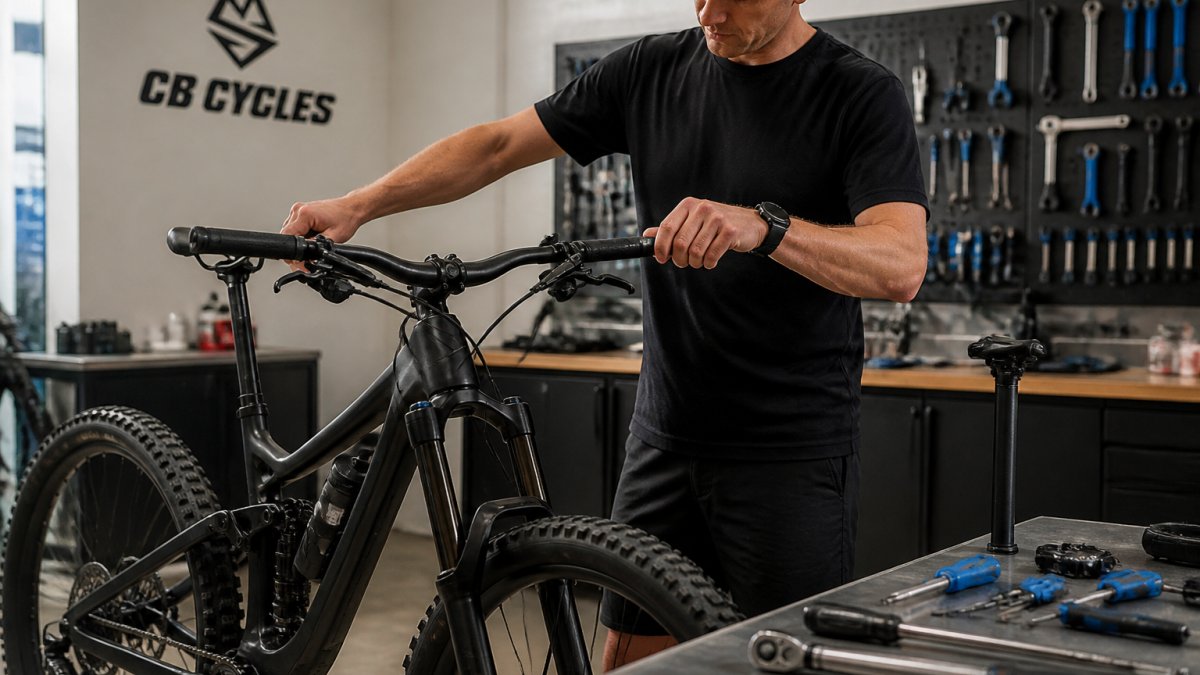
Mountain bike sag setup is the most important suspension adjustment you'll make, it sets the spring rate your damping controls, and no amount of rebound tuning fixes wrong sag. Set the manufacturer's starting pressure for your weight, suit up in riding gear, slide the O-ring against the seal, settle into your attack position, then measure against the manufacturer's target.
Volume spacers change progression, not sag. E-MTBs carry more weight, so the same rider often needs different settings on a 25kg e-bike than an analogue trail bike.
Mountain bike suspension setup only works once sag is right. Rebound damping controls how fast the suspension extends after compression, too fast and the bike kicks back over roots, too slow and it packs down.
Low-speed compression affects brake dive, pedalling support and how the bike sits in its travel; high-speed compression handles square-edge impacts and big landings. The RockShox Super Deluxe Ultimate RC2T damper gives independent high and low-speed compression plus a threshold lever, a lot of range to get wrong.
Front and rear balance matters as much as any single setting. If the fork feels harsh while the shock feels soft, the bike pitches, adjust both ends toward each other.
Mountain bike tyre pressure is the adjustment riders overlook most, and it changes traction, braking control and stability more than most damper clicks. There's no universal number, pressure depends on tyre volume, rim width, casing, terrain, rider weight and tubeless setup.
The Maxxis High Roller III is built around modern wide rims and tubeless ready, with casing options from trail to downhill; its DH casing is intended to allow slightly lower pressures while keeping sidewall stability.

Mountain bike setup for technical trails exposes poor balance, harsh damping and tyre pressure that's too high. Start with a slightly more upright, centred stance, softer low-speed compression so the bike tracks rather than skips, lower tyre pressure within the safe range, and dialled brake lever reach and contact point. We run SRAM Maven Silver brakes on our own Forbidden Druid E for strong power with usable modulation on steep, loose ground.

Wet clay, loose over hard, rock gardens and bike park laps all want slightly different compromises, and a recorded baseline lets you adjust and return without starting over. Before each ride, check shock and fork pressure, tyre pressure, bolt and axle torque to manufacturer spec, brake lever feel and sag indicator position.
A mullet wheelset like the DT Swiss FR 541 / 350 changes the bike's balance and rear tyre support, which can shift your pressure and damping choices. If you're weighing up an e-MTB and want to feel the difference before committing, our Demo Avinox Ebikes let you test ride the platform on local trails, and we keep Avinox Spare Parts on hand for owners maintaining their own bikes.

Set sag in the riding position you spend most time in for the terrain you ride. For technical trails and descending, measure sag while standing in the attack position, as this is how the bike is loaded when it matters. Sitting sag is useful for climbing-focused setups. Whichever you choose, use the same method every time so your baseline stays repeatable. Check your shock manufacturer's recommended sag range and adjust air pressure in small increments.
Start with the pressure recommended for your weight in the fork and shock manufacturer's setup guide, then measure sag and adjust from there. Rider weight is a starting point, not a final answer: riding style, terrain and e-MTB weight all shift the numbers. Heavier riders often need more spring rate and may benefit from volume spacers to control bottom-out. Record your pressures and sag figures so you can return to a known-good setup after changes.
There is no single number. Start around the middle of the range printed on your tyre sidewall, then adjust for your weight, rim width, terrain and whether you run tubeless. Lower pressure increases traction and comfort but raises the risk of rim strikes and burping. Add 2-3 psi if the tyre feels vague in corners or you are hitting rims; drop slightly if it feels harsh. Change one thing at a time and test on a trail you know well.
Getting a high performance mountain bike setup right is a process, not a single adjustment, and the order you work in matters more than any individual click. If you'd rather skip the trial and error, CB Cycles can help with rider fit, cockpit changes, suspension baselines and tyre selection, and we stock the parts to make those changes stick. Book a workshop service and we'll get your bike set up around you.